Import into Blender (basic)
This section is all about the first prize : getting your character
into Blender and rendered. We are going to keep it very basic, I
will try to create more advanced techniques in other tutorials. So
we are at the stage where we want to simply want some results! Once
we got the basic technique down, we can advance.
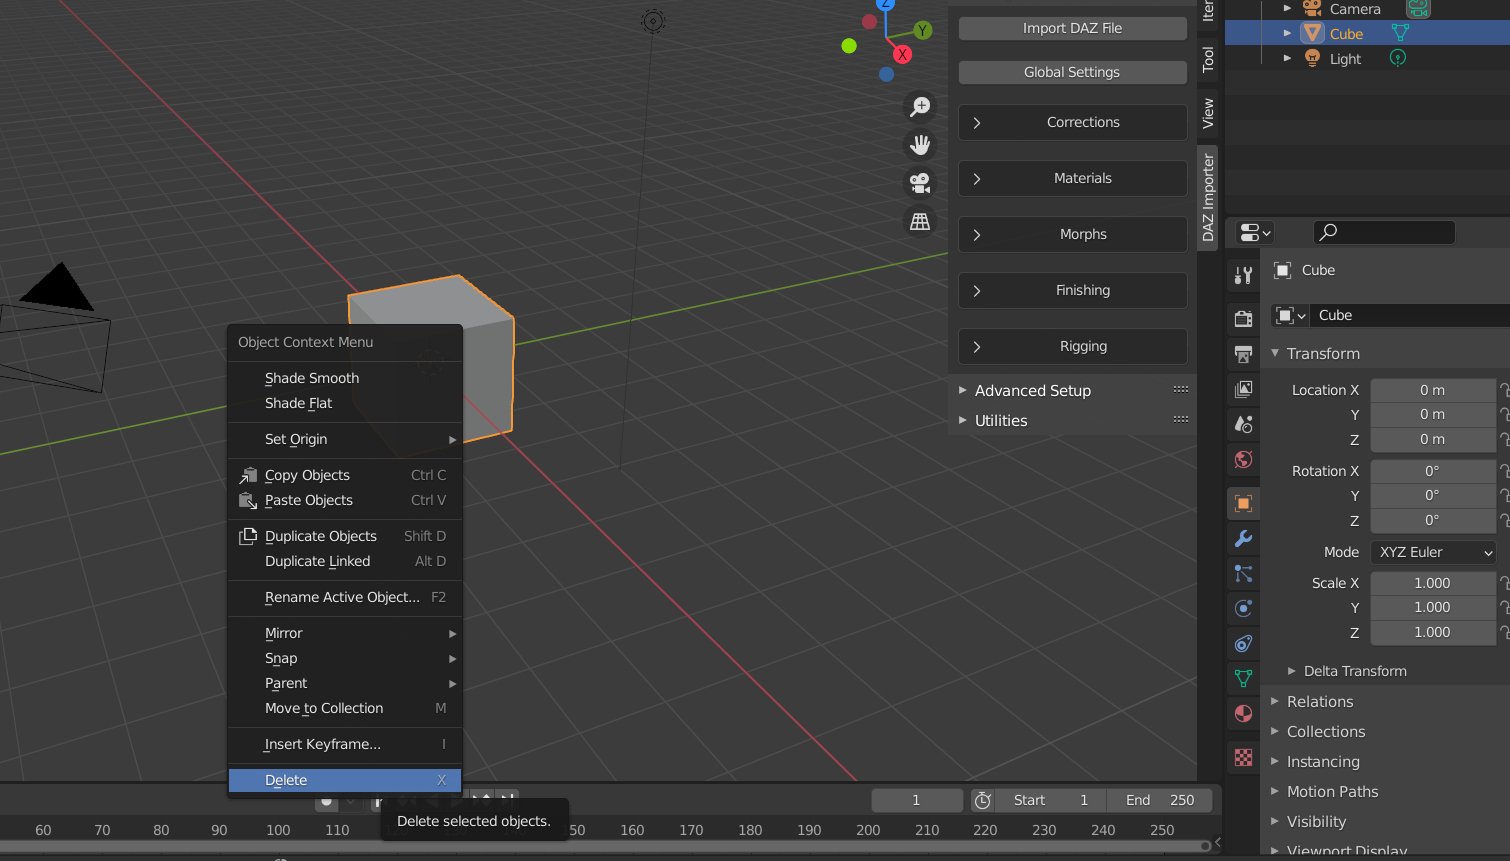
If you opened up Blender, you get to see the default cube. We can
delete that by pressing the <DELETE> key.
PROTIP : One of the
things that make Blender hard to use when you start out, is that it
loves HOTKEYS, there is pretty much a hotkey for everything.
However, for BEGINNERS this is tough. Memorizing the basic keys can
help you. If you decide to learn hotkeys, the uptick is that you
will be a LOT FASTER with hotkeys. Luckily, if you don't like
hotkeys, everything can be found in a menu usually. In this case,
you can RIGHT-CLICK on the cube and choose DELETE. You can see
another hotkey for delete, namely the X hotkey, as in the image
below
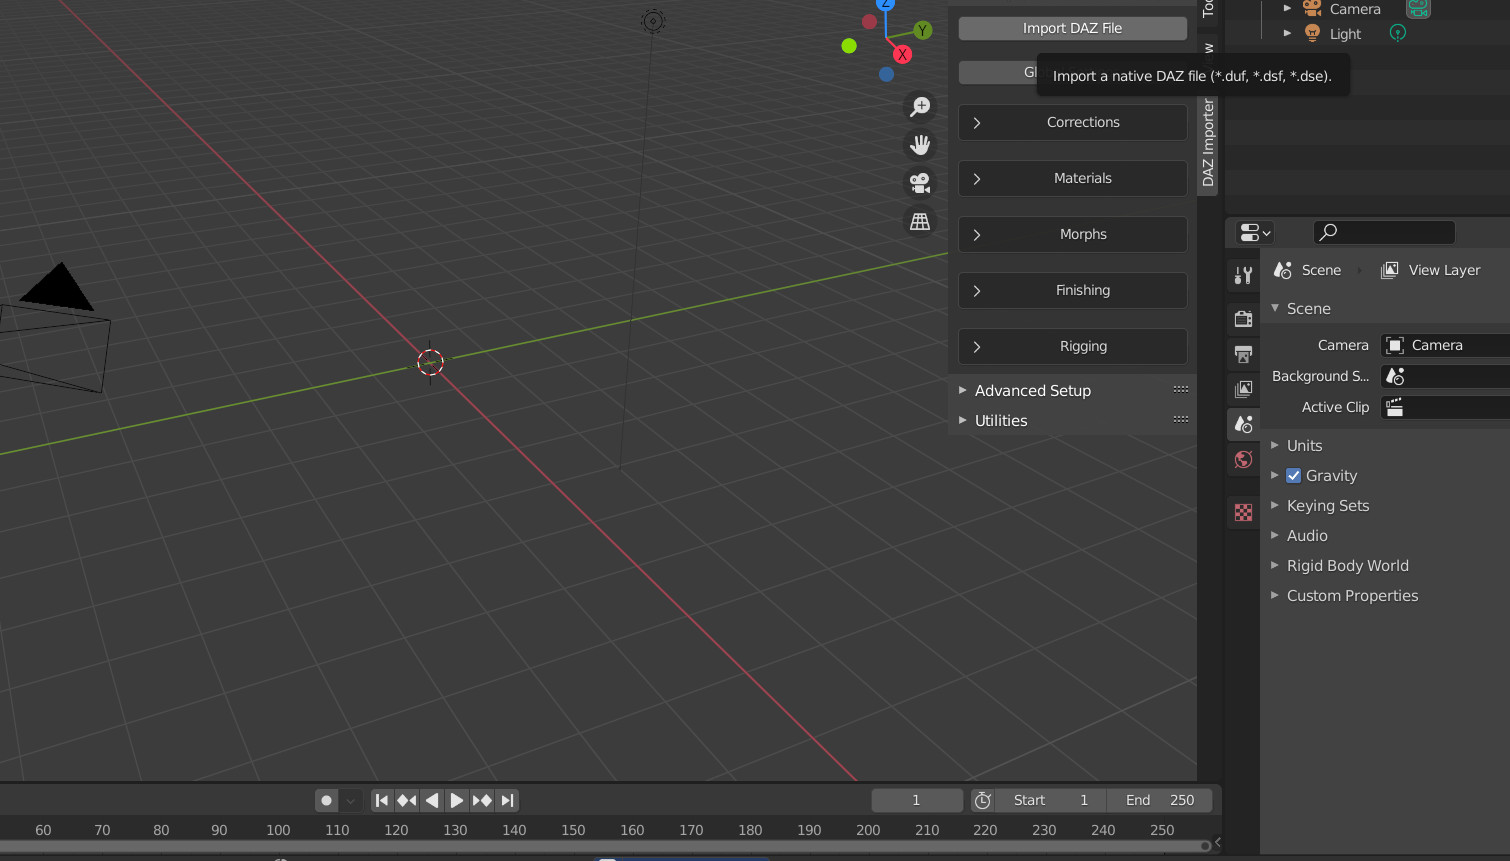
The next step is to click on "import DAZ file" :
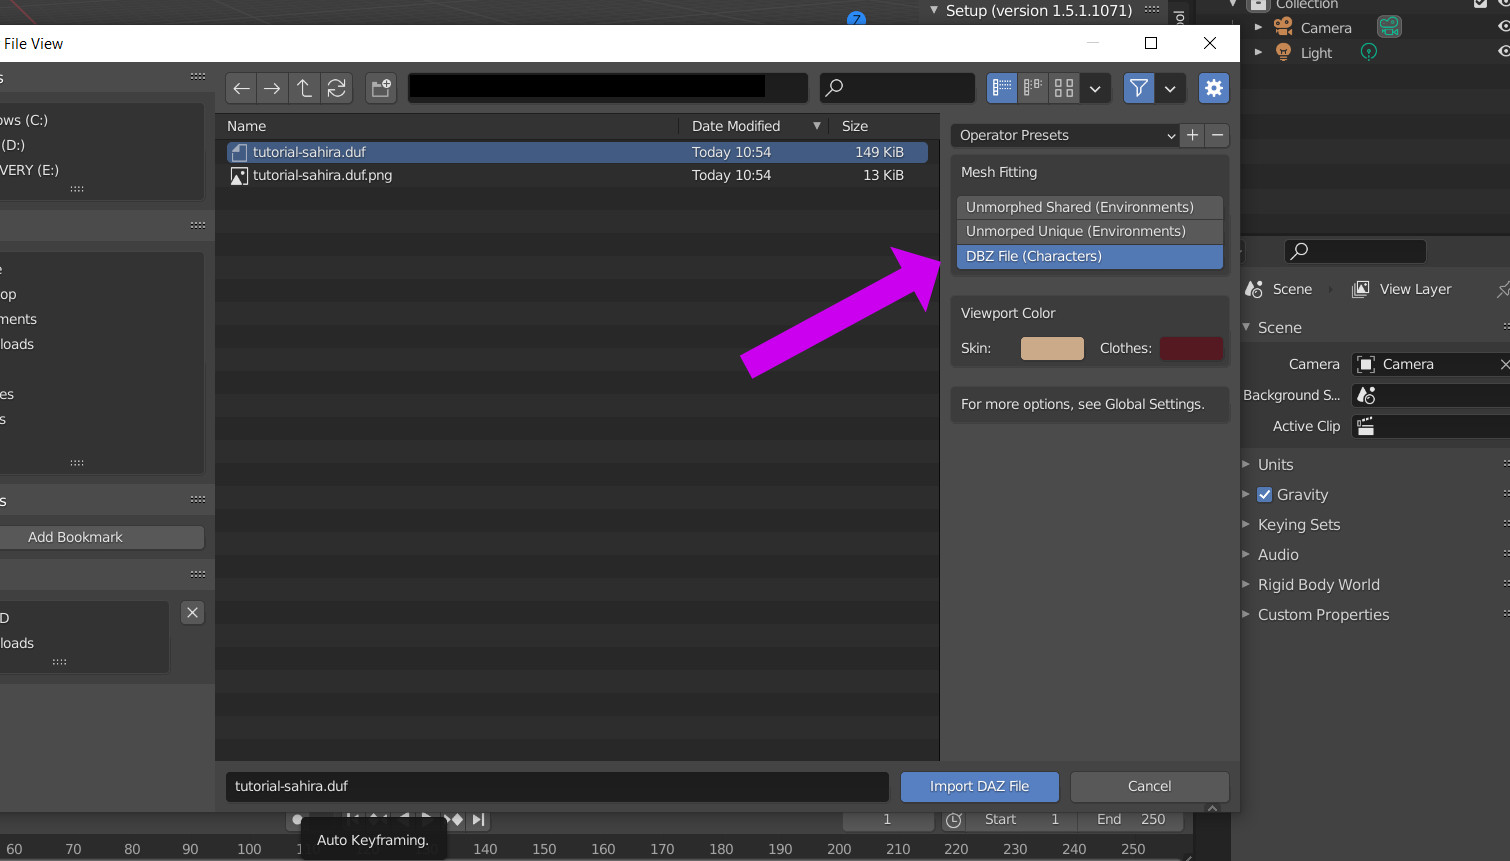
You'll be getting a file dialog box like in the image below. Choose
your DUF file you saved in the earlier tutorial and make sure the
default DBZ File (Characters) is selected (see arrow)
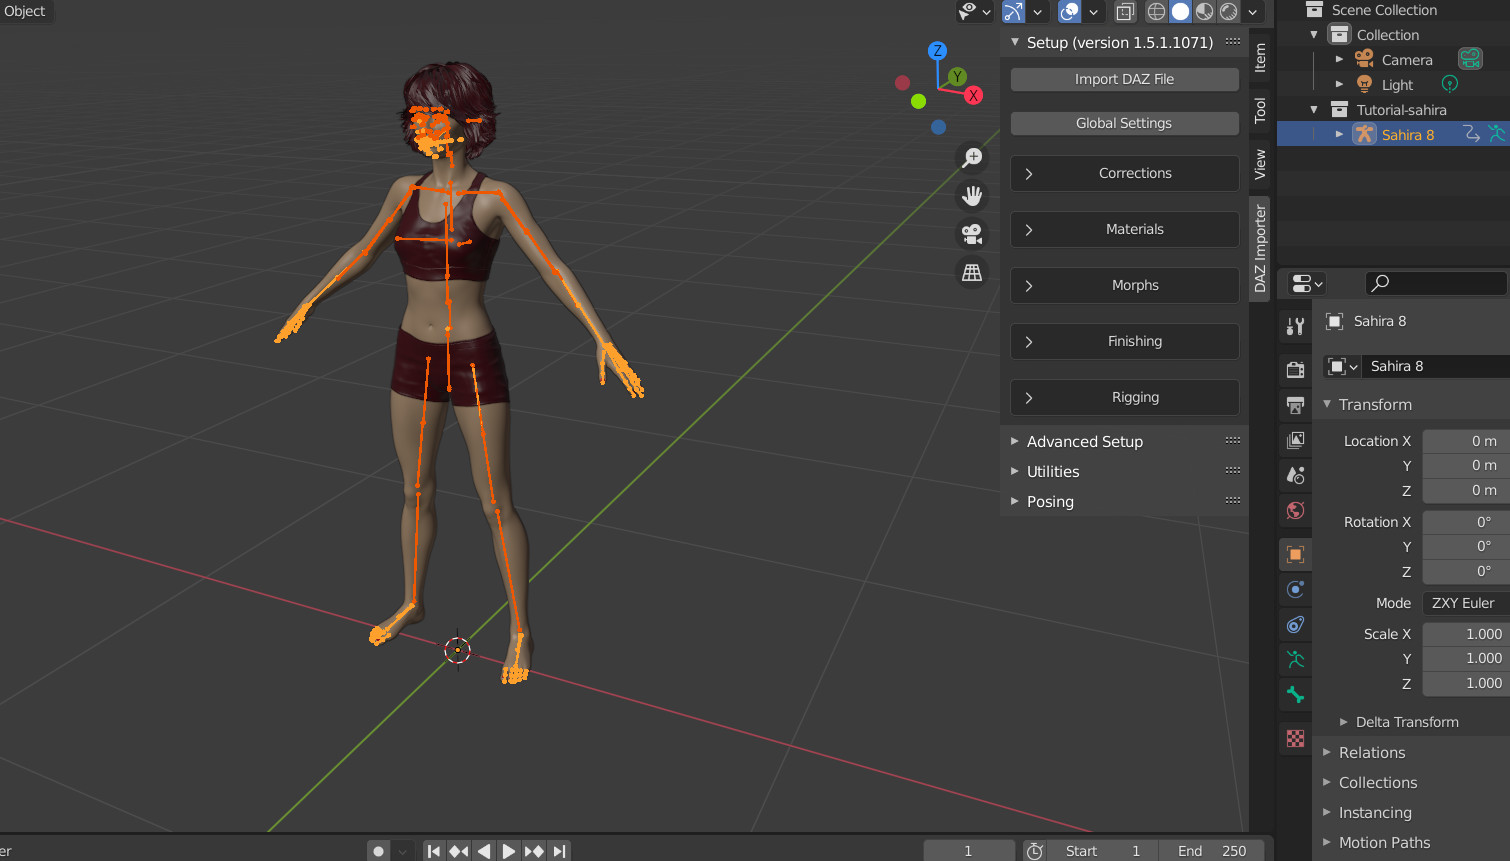
Succes! (I hope :) -- We now have our file in, never mind the
colours and the freaky fire sticks, the important part here is you
got your character over from DAZ3D Studio!
So now we need to render. We first need to switch to camera (NUMPAD
KEY 0)
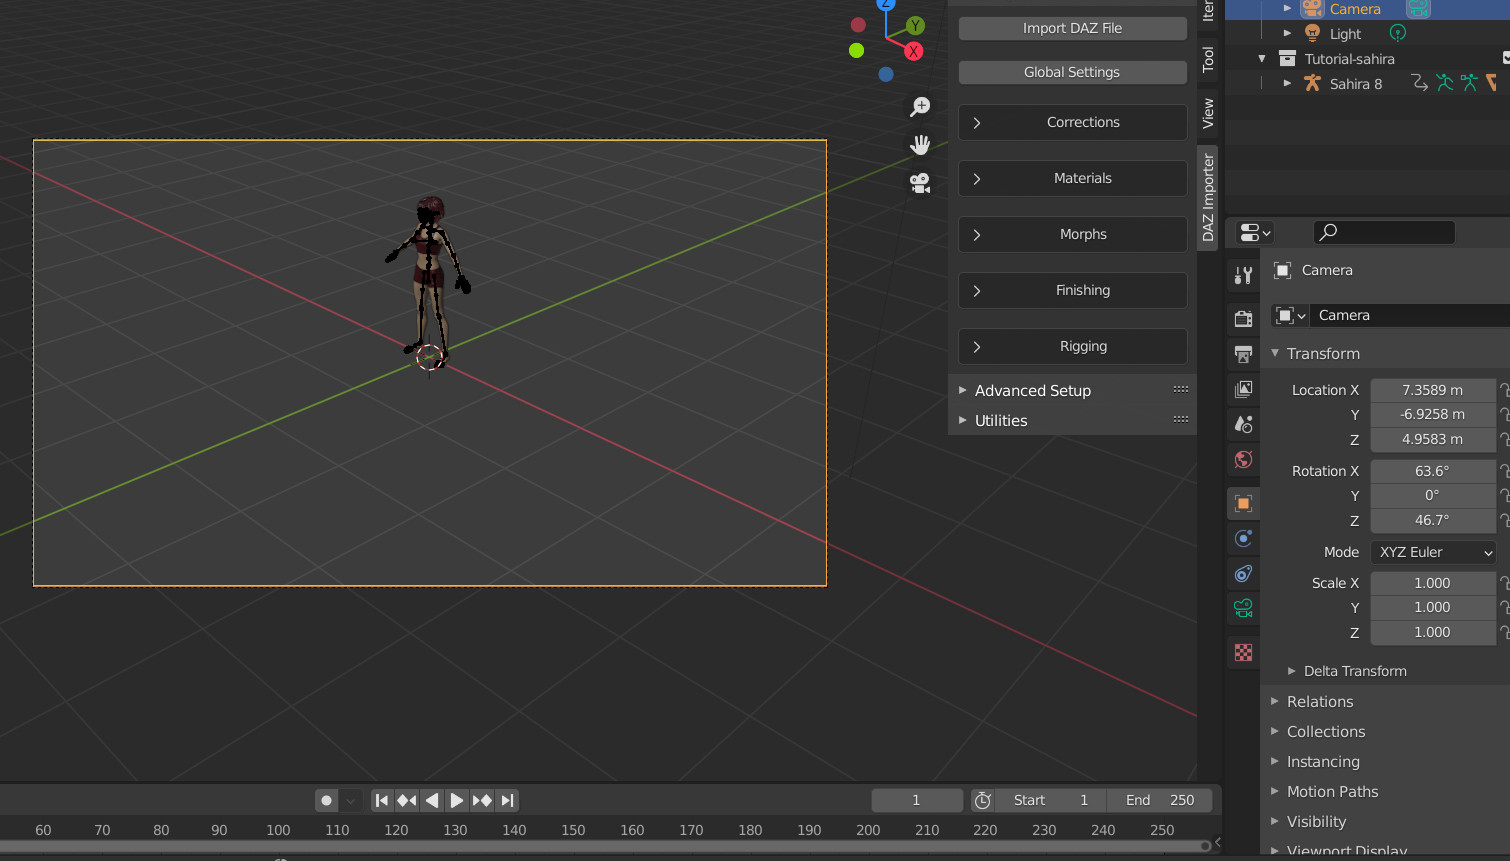
Everything in the light grey box is what the camera sees, so all
that will be rendered. Our figure looks quite small. Let's move
closer. First of all press <G> key. You are now in movement
mode, if you use the mouse to move. Luckily you can constrain
your camera by using the hotkeys <X>,<Y> and <Z>
for each dimension you want to move in. For instance pressing
<G> and then <X> will move the camera along the X axis.
Pressing <Y> next, the Y axis, pressing <Z> next, the Z
axis. Use these new skills to inch closer and closer to your
character.
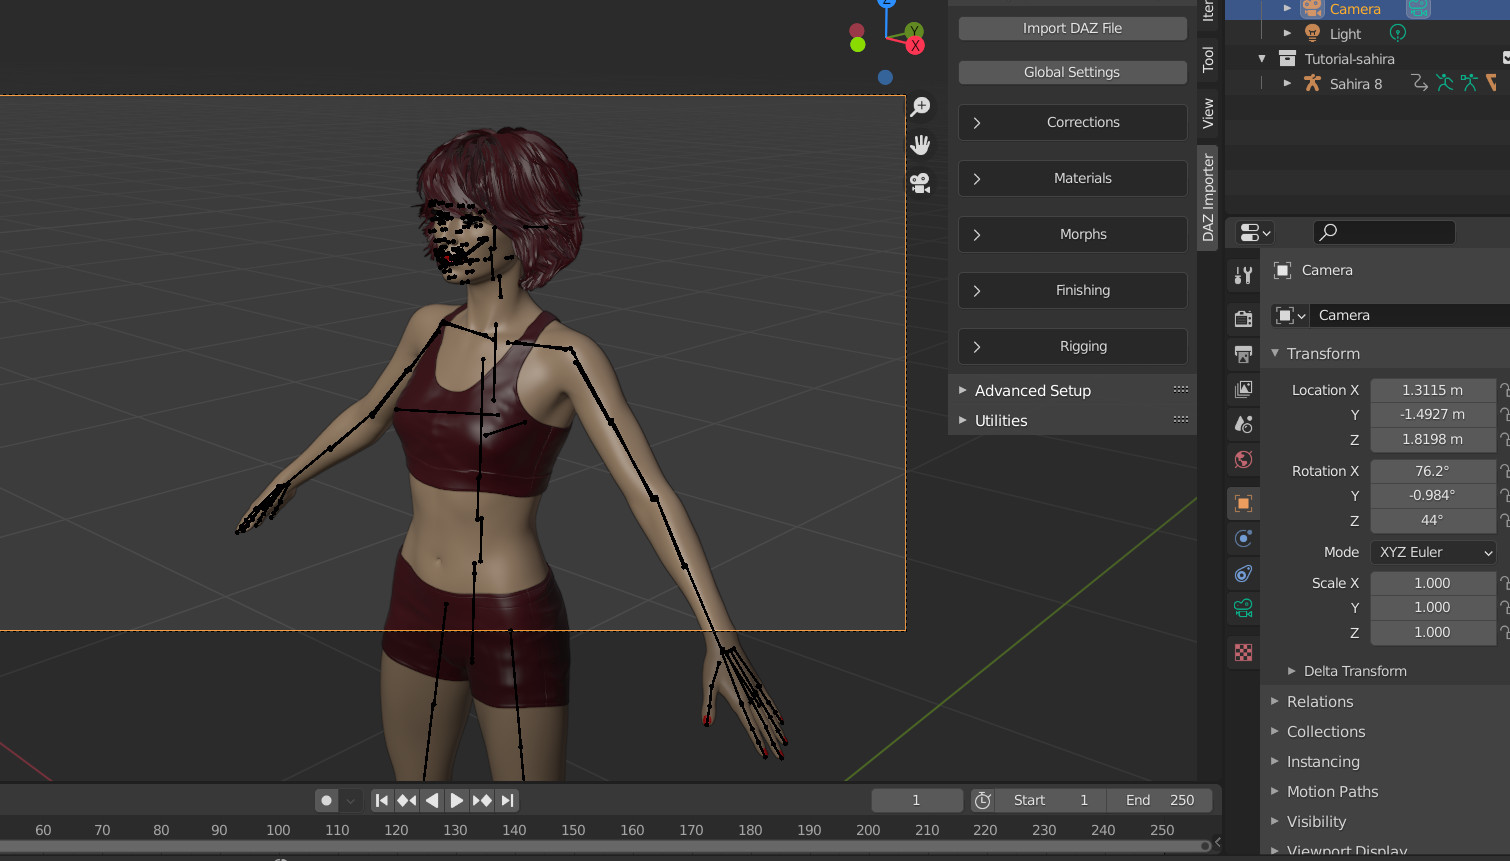
Once you got close enough, you probably want to rotate the camera,
and this is possible by pressing the <R> key TWICE.
This will give you a panning motion you can use to center your
subject.
Enough learning hotkeys for now, to render, simply press <F12>
, and wait a while for your render to finish! You probably get
something like this :
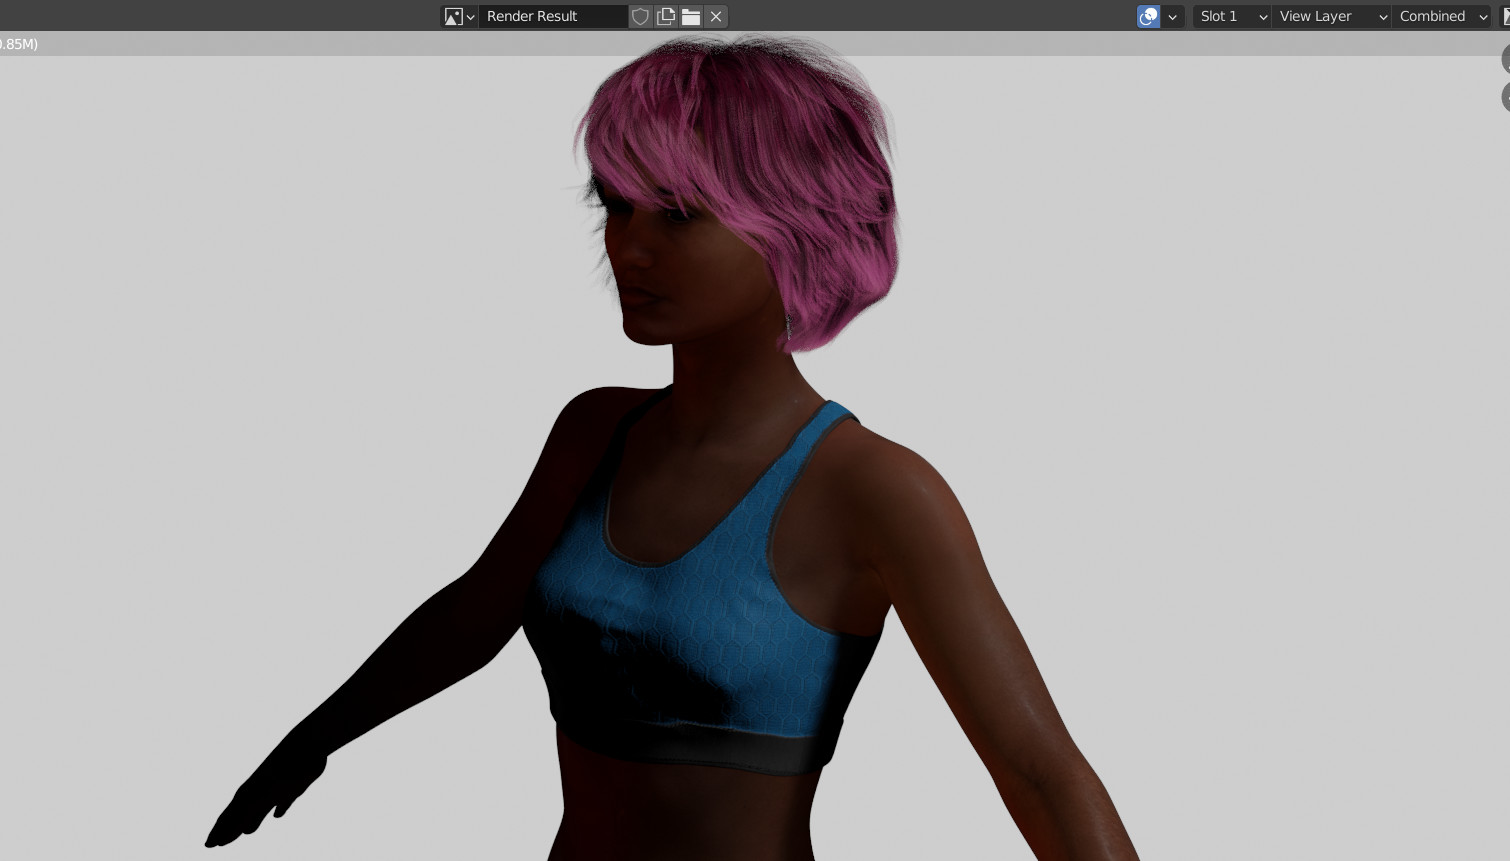
Not a Rembrandt yet, but with a bit of work we can start tweaking
the things to our liking in the next tutorials.
Last update : 5-3-21